3D printing is something that I have wanted to get knee deep in for over a decade, but the prohibitively expensive cost of entry all those years ago made sure this was just a dream. Now though, getting involved in 3D printing is cheaper than ever, with full starter kits becoming available for under €200.00.
There are a lot of different kits out there from brands with a good reputation, then there are a lot of clones of those well regarded printers but the one name that seems to have really shone among all others in the affordable, yet reliable 3D printing arena is Creality.
The Hardware
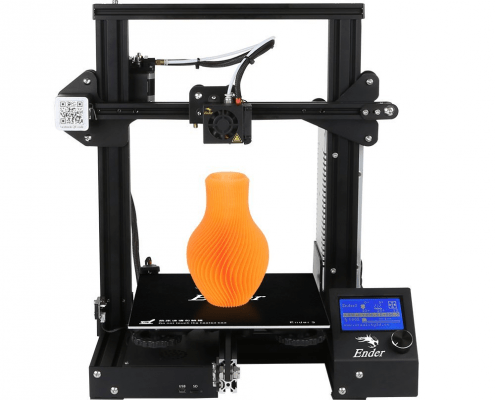
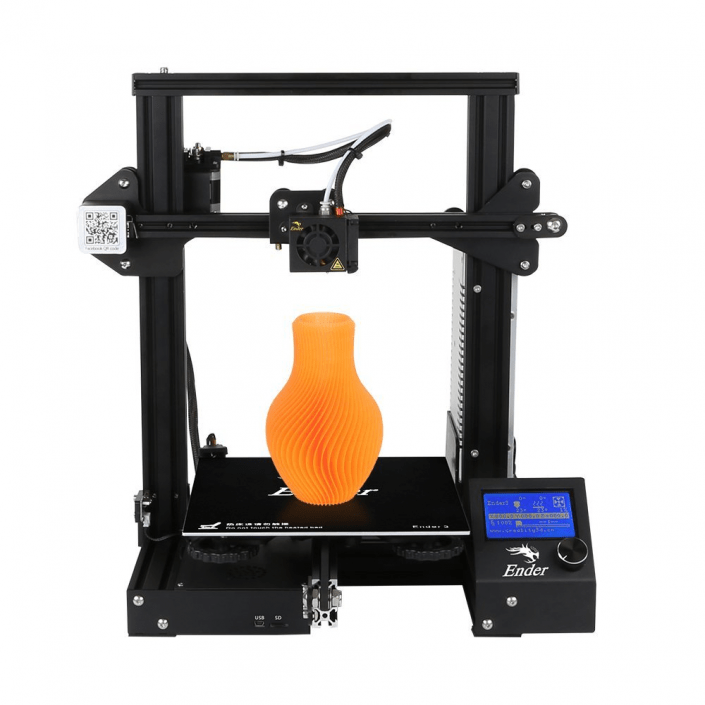
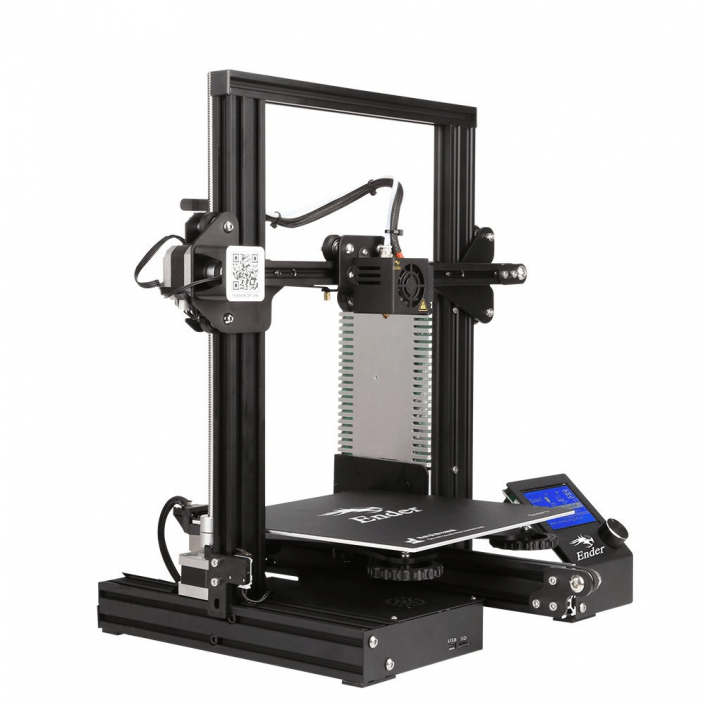
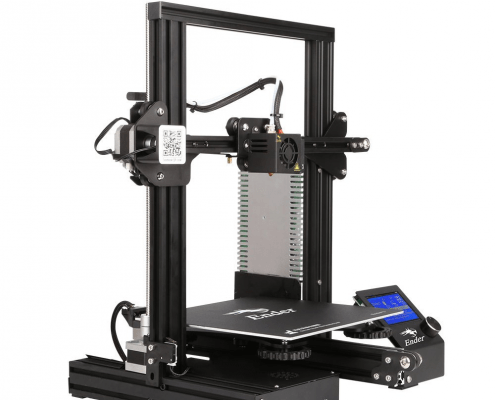
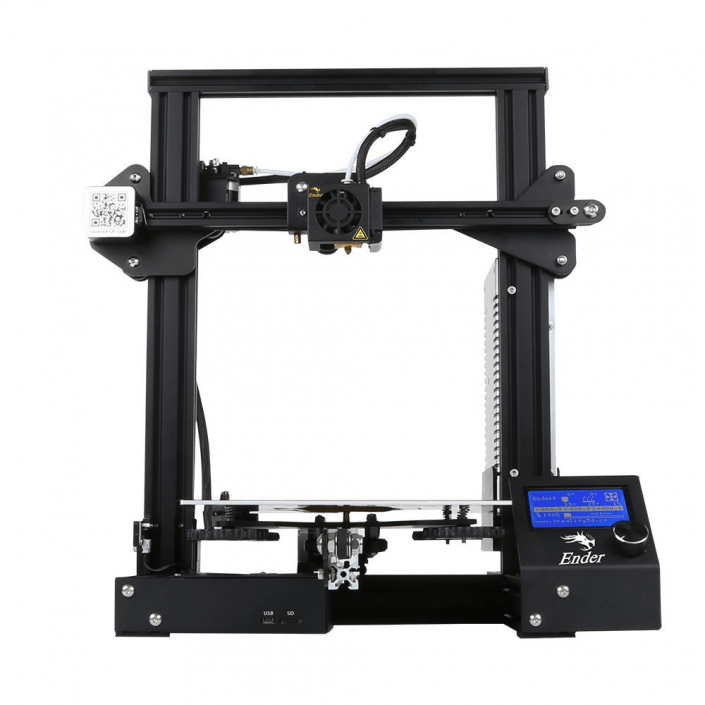
Creality are a Chinese company that have invested significantly in their range of printers, from the entry level Ender 3 to the CR10S Pro. In my case, I picked up an Ender3 from AliExpress for under €200.00 including shipping and including 2 rolls of PLA plastic filament.
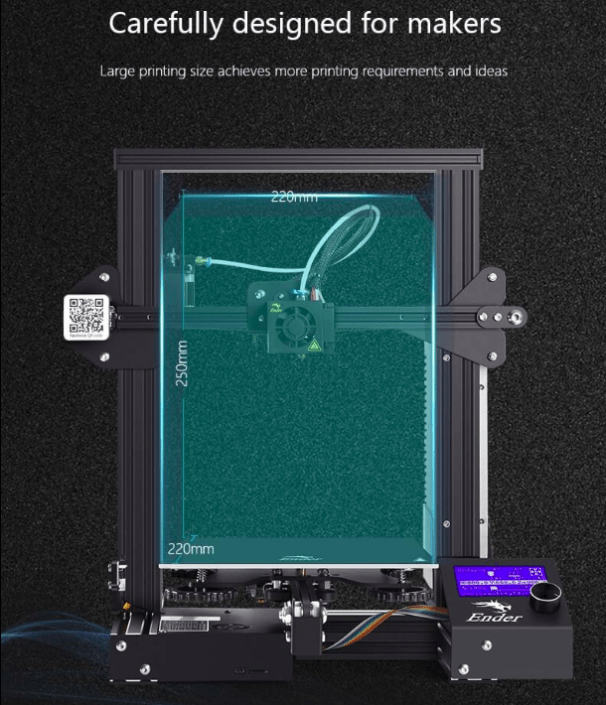
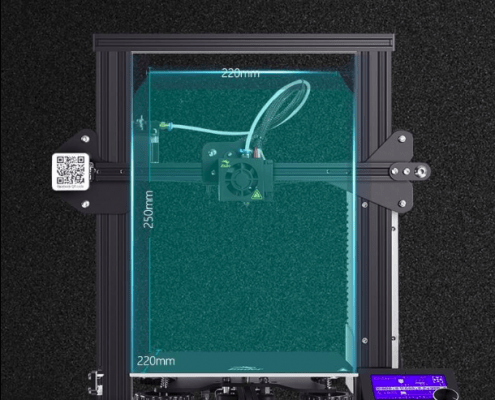
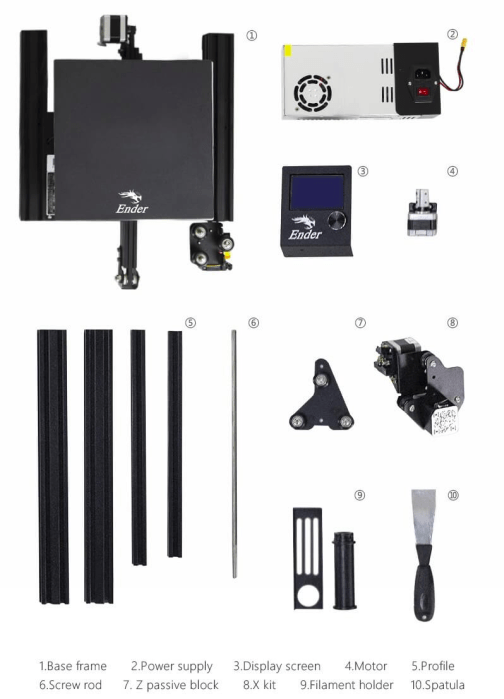
The kit comes ready to build and includes some very nicely designed instructions that should get you up and running in 30 mins to an hour. The print area of the printer is 220mm square and you can print to a maximum height of 250mm tall.
Images from the Creality store here: Creality3DShop
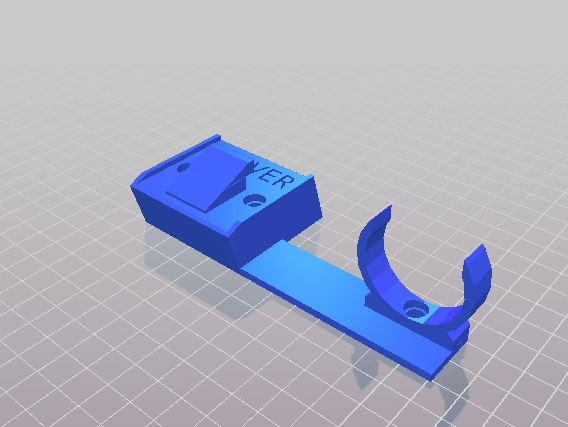
The image above is a wall mount I resigned for my vacuum cleaner and its accessories. You can find it on thingiverse.
3D Printing Files?
So assuming that we have all the hardware set up and ready to go, what exactly are we going to print?
Well we can design our own objects to print of course, but we’ll start small and get some files that are available online so that you can get a handle on things before getting knee deep in CAD. The number 1 place for all things related to 3D print designs is Thingiverse. Thingiverse is kind of a social network for 3D modellers / Makers / DIY enthusiasts and everyone in between. It’s a place where users can upload their 3D designs, anything from tools to toys, hair pins to helmets. Pretty much anything you can imagine. For example, I have designed a couple of functional objects for use home, such as a wall mounted holster for my Hoover FD22 vacuum cleaner, or a key hanger for keeping your house keys in a place that’s easy to find. These are only small things but you’ll find designs on thingiverse for a huge range of things.
There’s a few file types that are common in the 3D modelling / 3D printing space but by far the most common and well supported (though a bit long in the tooth) is the .STL format. By default, the files you get from thingiverse and many other collections of 3D models online will be in this format, though others do exist also.
Using the STL Files
So the .STL file goes in the printer now, right?
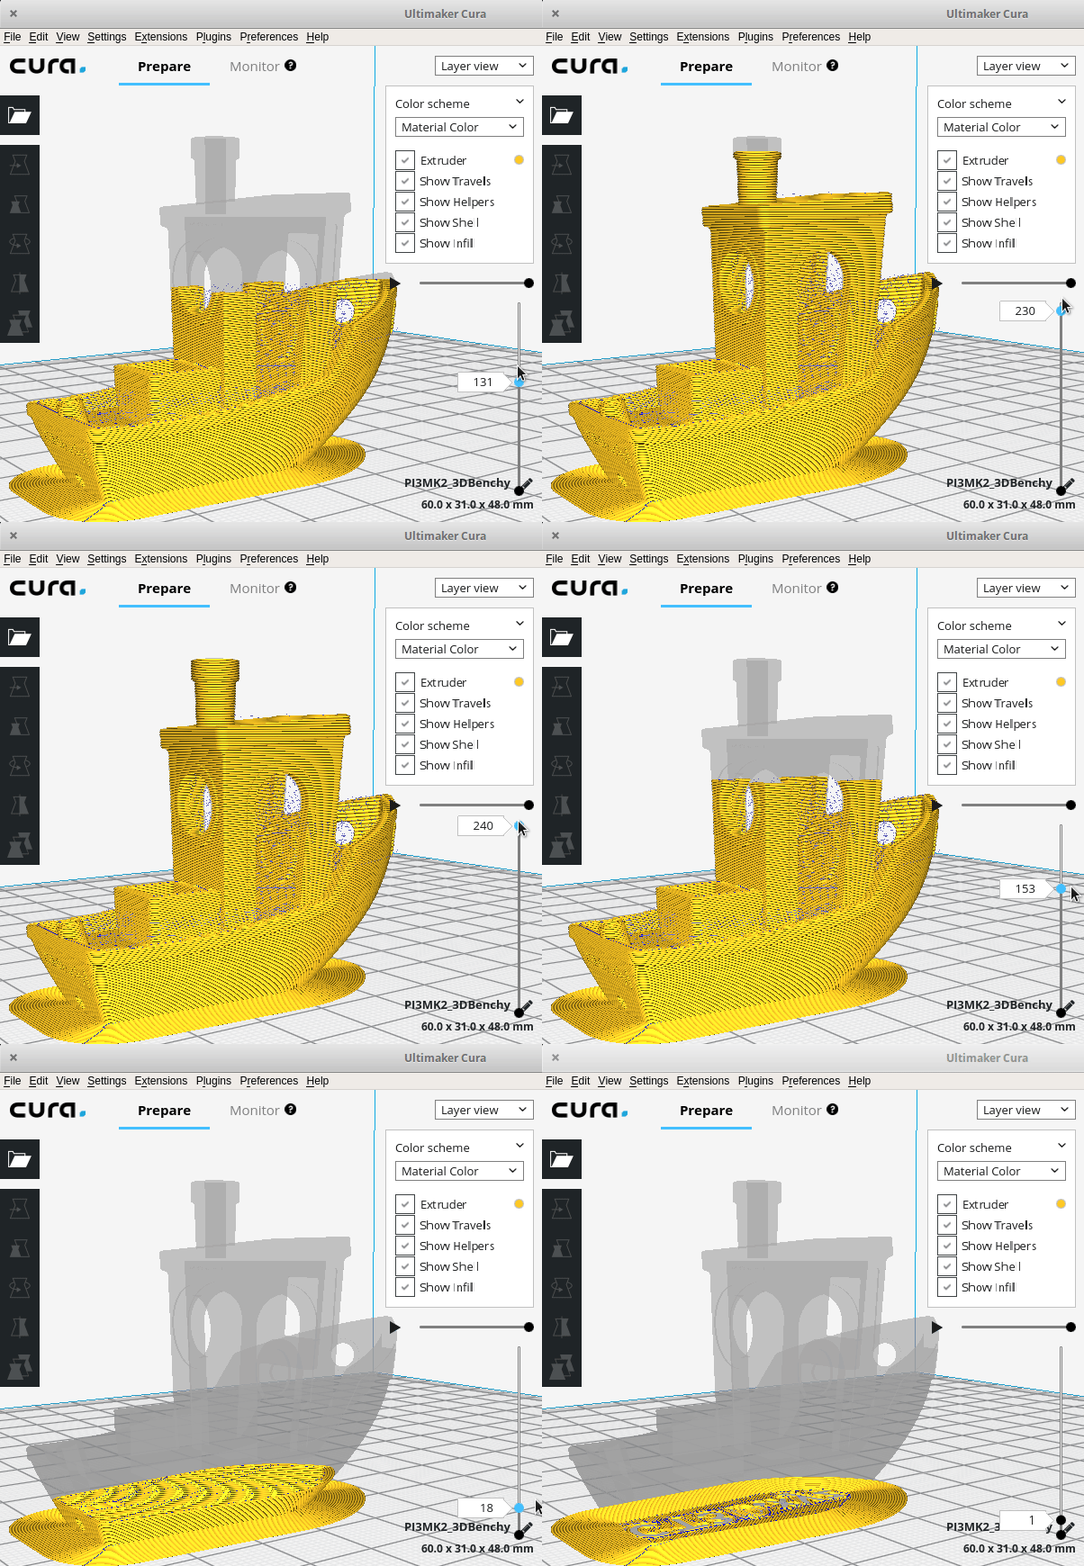
Not quite. An STL file is just a 3D model and knows nothing about your 3D printer, (your layer heights, print temperatures etc etc). That is all done in another application simply called a Slicer. The .STL model is opened with the slicer app and we’re then able to adjust a lot of the parameters for the 3D print. When we’re happy, we can just export the project and it’ll build a new file based on the STL and the parameters you set (or left default). This new file is a G-code file. In its simplest form, G-code is just instructions for your printer (CNC Machine, Engraver, Laser Cutter etc) to go to a given point in space and do something (push out plastic in our case). The G-code is not a 3D file like the STL so you can’t view it in a 3D space like you could before.
Source: all3dp.com
Ref: This example is a phone holder mount I designed to replace a vent in my car. It also incorporates a qi wireless charger. You can view it on thingiverse.
Designing Your Own Stuff
Downloading someones designs and printing a real thing from the internet is great and all, but nothing beats designing your very own items that address exactly your use-case, however niche.
There’s a lot of applications out there for 3D design, ranging from the powerful and complicated to the quick-and-easy. For anyone getting started though, I would recommend jumping in with TinkerCad.
TinkerCad is a really easy to use software that runs in the browser, so it doesn’t require you to install anything and you can be up and rung in a matter of minutes. It was originally designed as a tool for school kids to get involved in 3D modelling, but it remains really popular among the n00bs and the more experienced 3D printers alike. Once you create a new project on Tinkercad, you’ll be presented with the canvas where you can bring in all manor of shapes from the menu on the right. You can drag a ruler onto the canvas and it’ll show you the sizes of any of you model elements, where you can adjust them in increments as small as 0.1mm. You can combine multiple shapes into more complex models and merge them.
If you feel like you’re struggling to get the kind of detail you want from Tinkercad and you require something more powerful, the natural step would be to Fusion360. It’s free for non-commercial use so you can download it right now. The learning curve here is quite a bit more steep than tinkercad, but there are plenty of really good tutorials online. If you want to download it, click here.
The Printing Process
So assuming you have either downloaded a model or you’ve designed something of your own, when you’re ready to export the project from your slicer, just plug in the SD card you got with your 3D printer (may differ for other types of machines) and export to directly to that. Remove the SD card and stick it into the 3D printer and you should see the file you loaded on there in the menu. Select it and choose “Print” from the options.
The 3D printer will start heating up to the required temperature for the nozzle and the bed that you set in the slicer (or left at default values). Once its up to temp, it’ll begin to move the head to zero itself and then start printing!
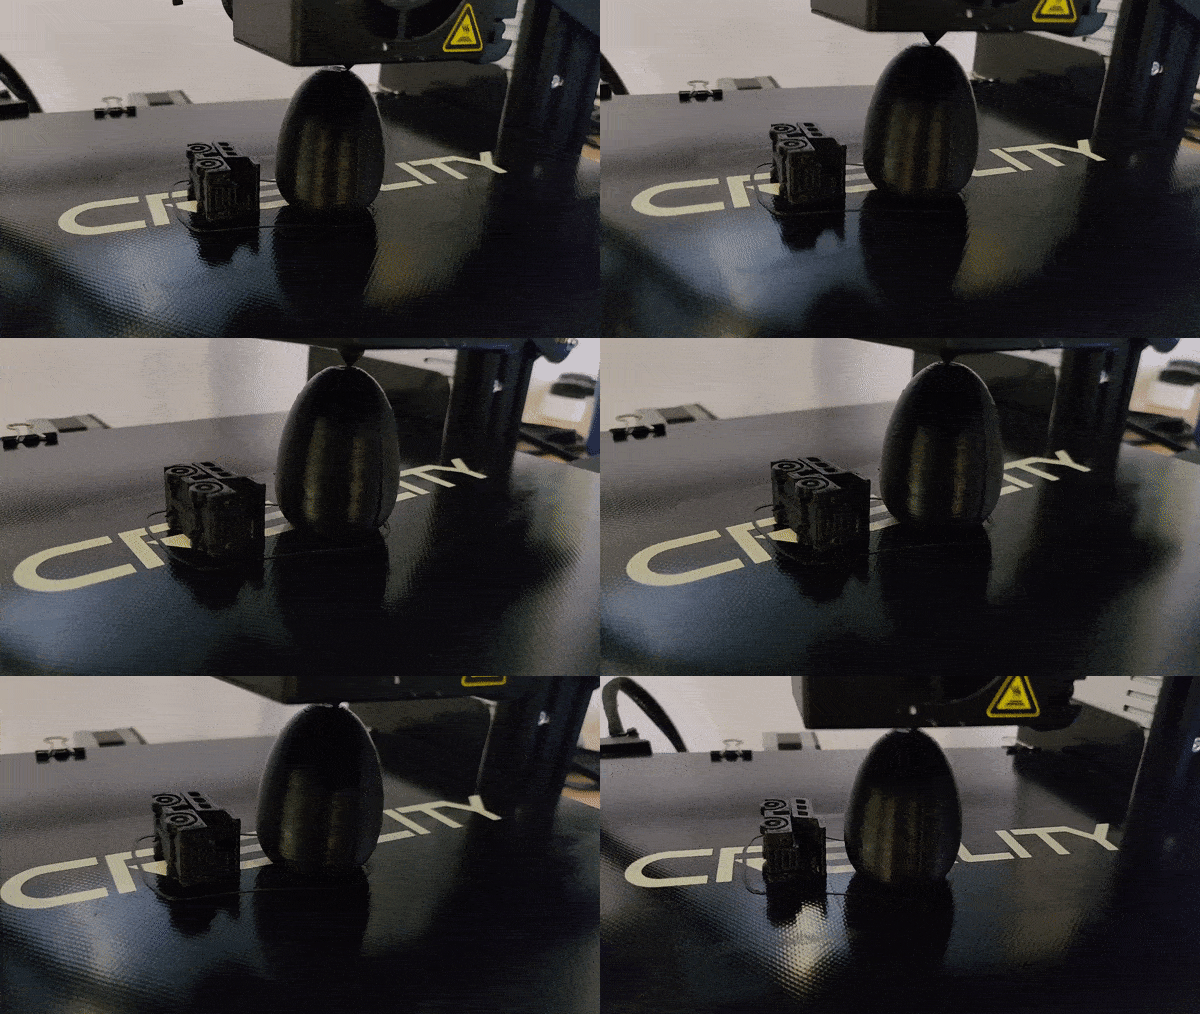
This gif shows a surprise egg I printed with a little dumper truck inside. The original design was created by Stian Ervik Wahvaag on thingiverse. You can check them out here.
Conclusion
So at this point, you will have learned a little about how to get started with finding models to print, designing your own models and loading these models into your shiny new 3D printer. Initially, the whole 3D printing scene seems very complicated but when you break it down like this, it makes getting started a lot quicker.
Anyway, welcome to your new addiction. 😀


